Creating Campaigns
Campaigns in full are available in the Power plan. If you're on the Core or Pro plan, you can create up to 3 campaigns including a list of contacts up to 100 records each.
Auto Dialer is available only for users with the Administrator or Manager role with the Supervisor function option enabled.
IN THIS ARTICLE
To create a new campaign, you need to navigate to Auto Dialer → Campaigns in the main menu. The empty Campaigns section appears as follows:
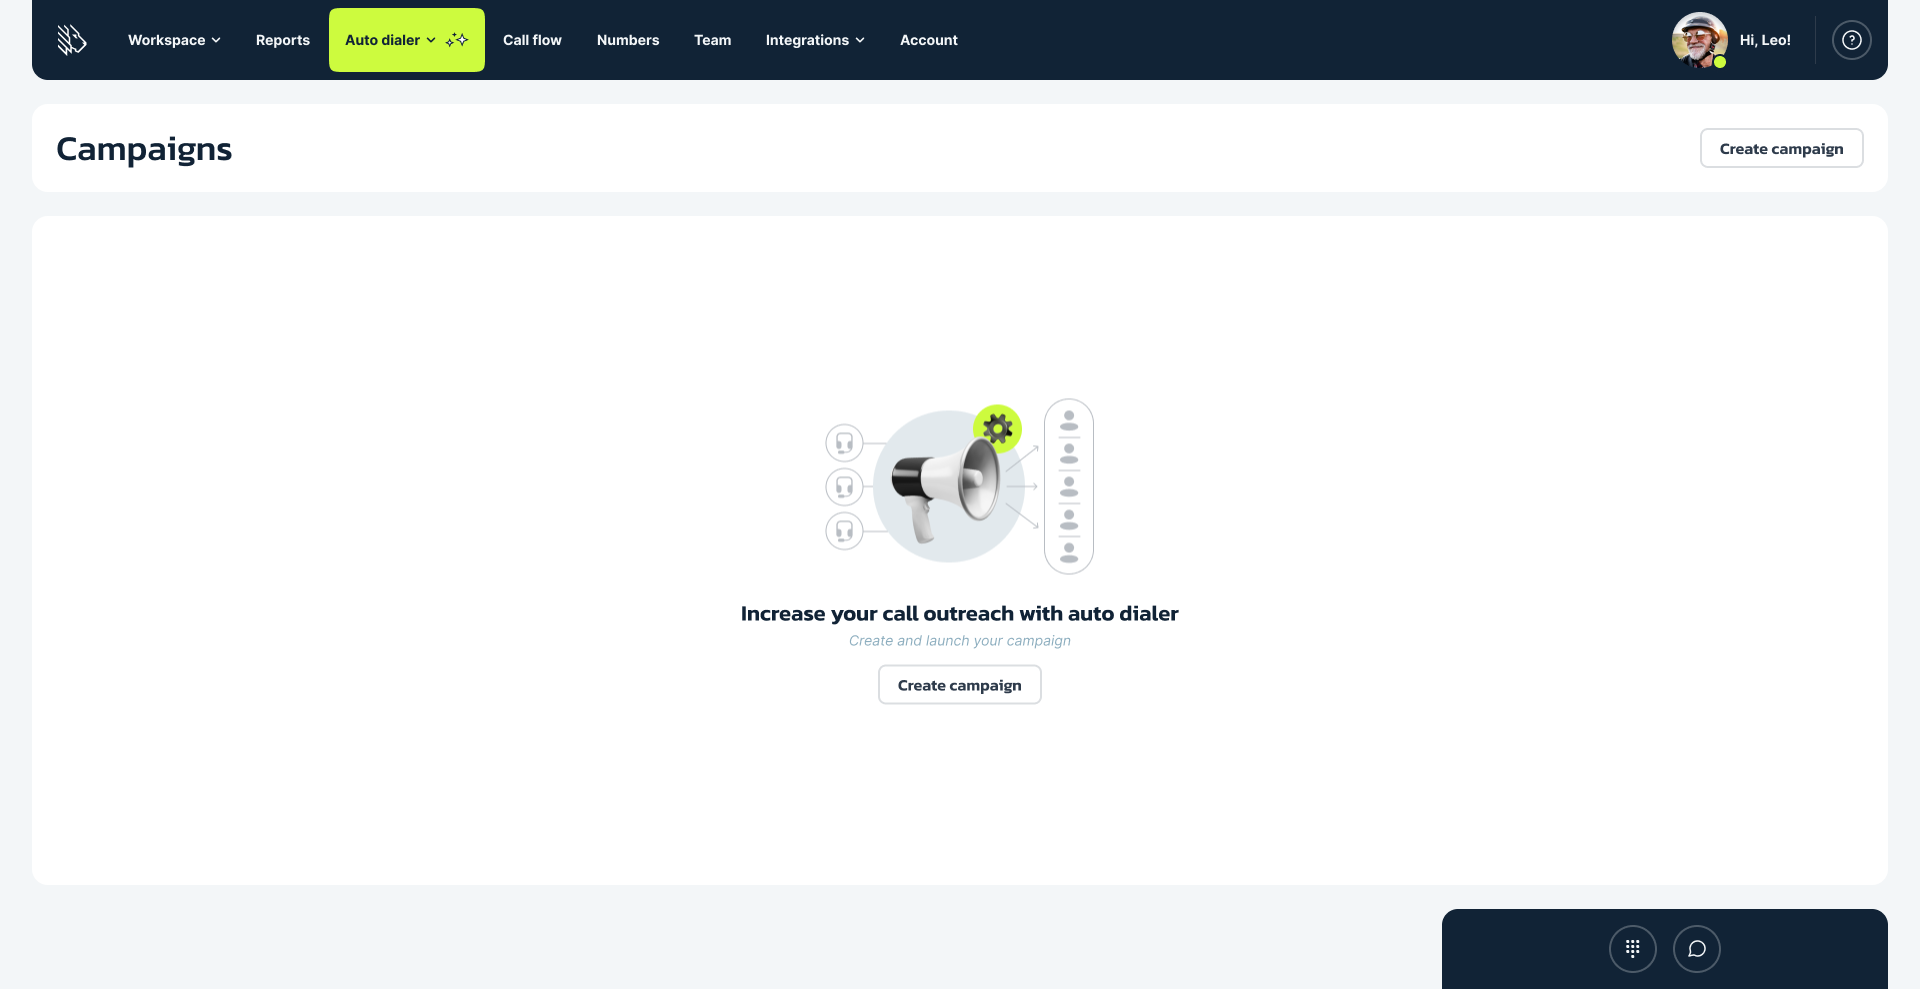
The Create campaign button launches a campaign creation wizard, which includes 4 steps.
Wizard Step 1: General settings
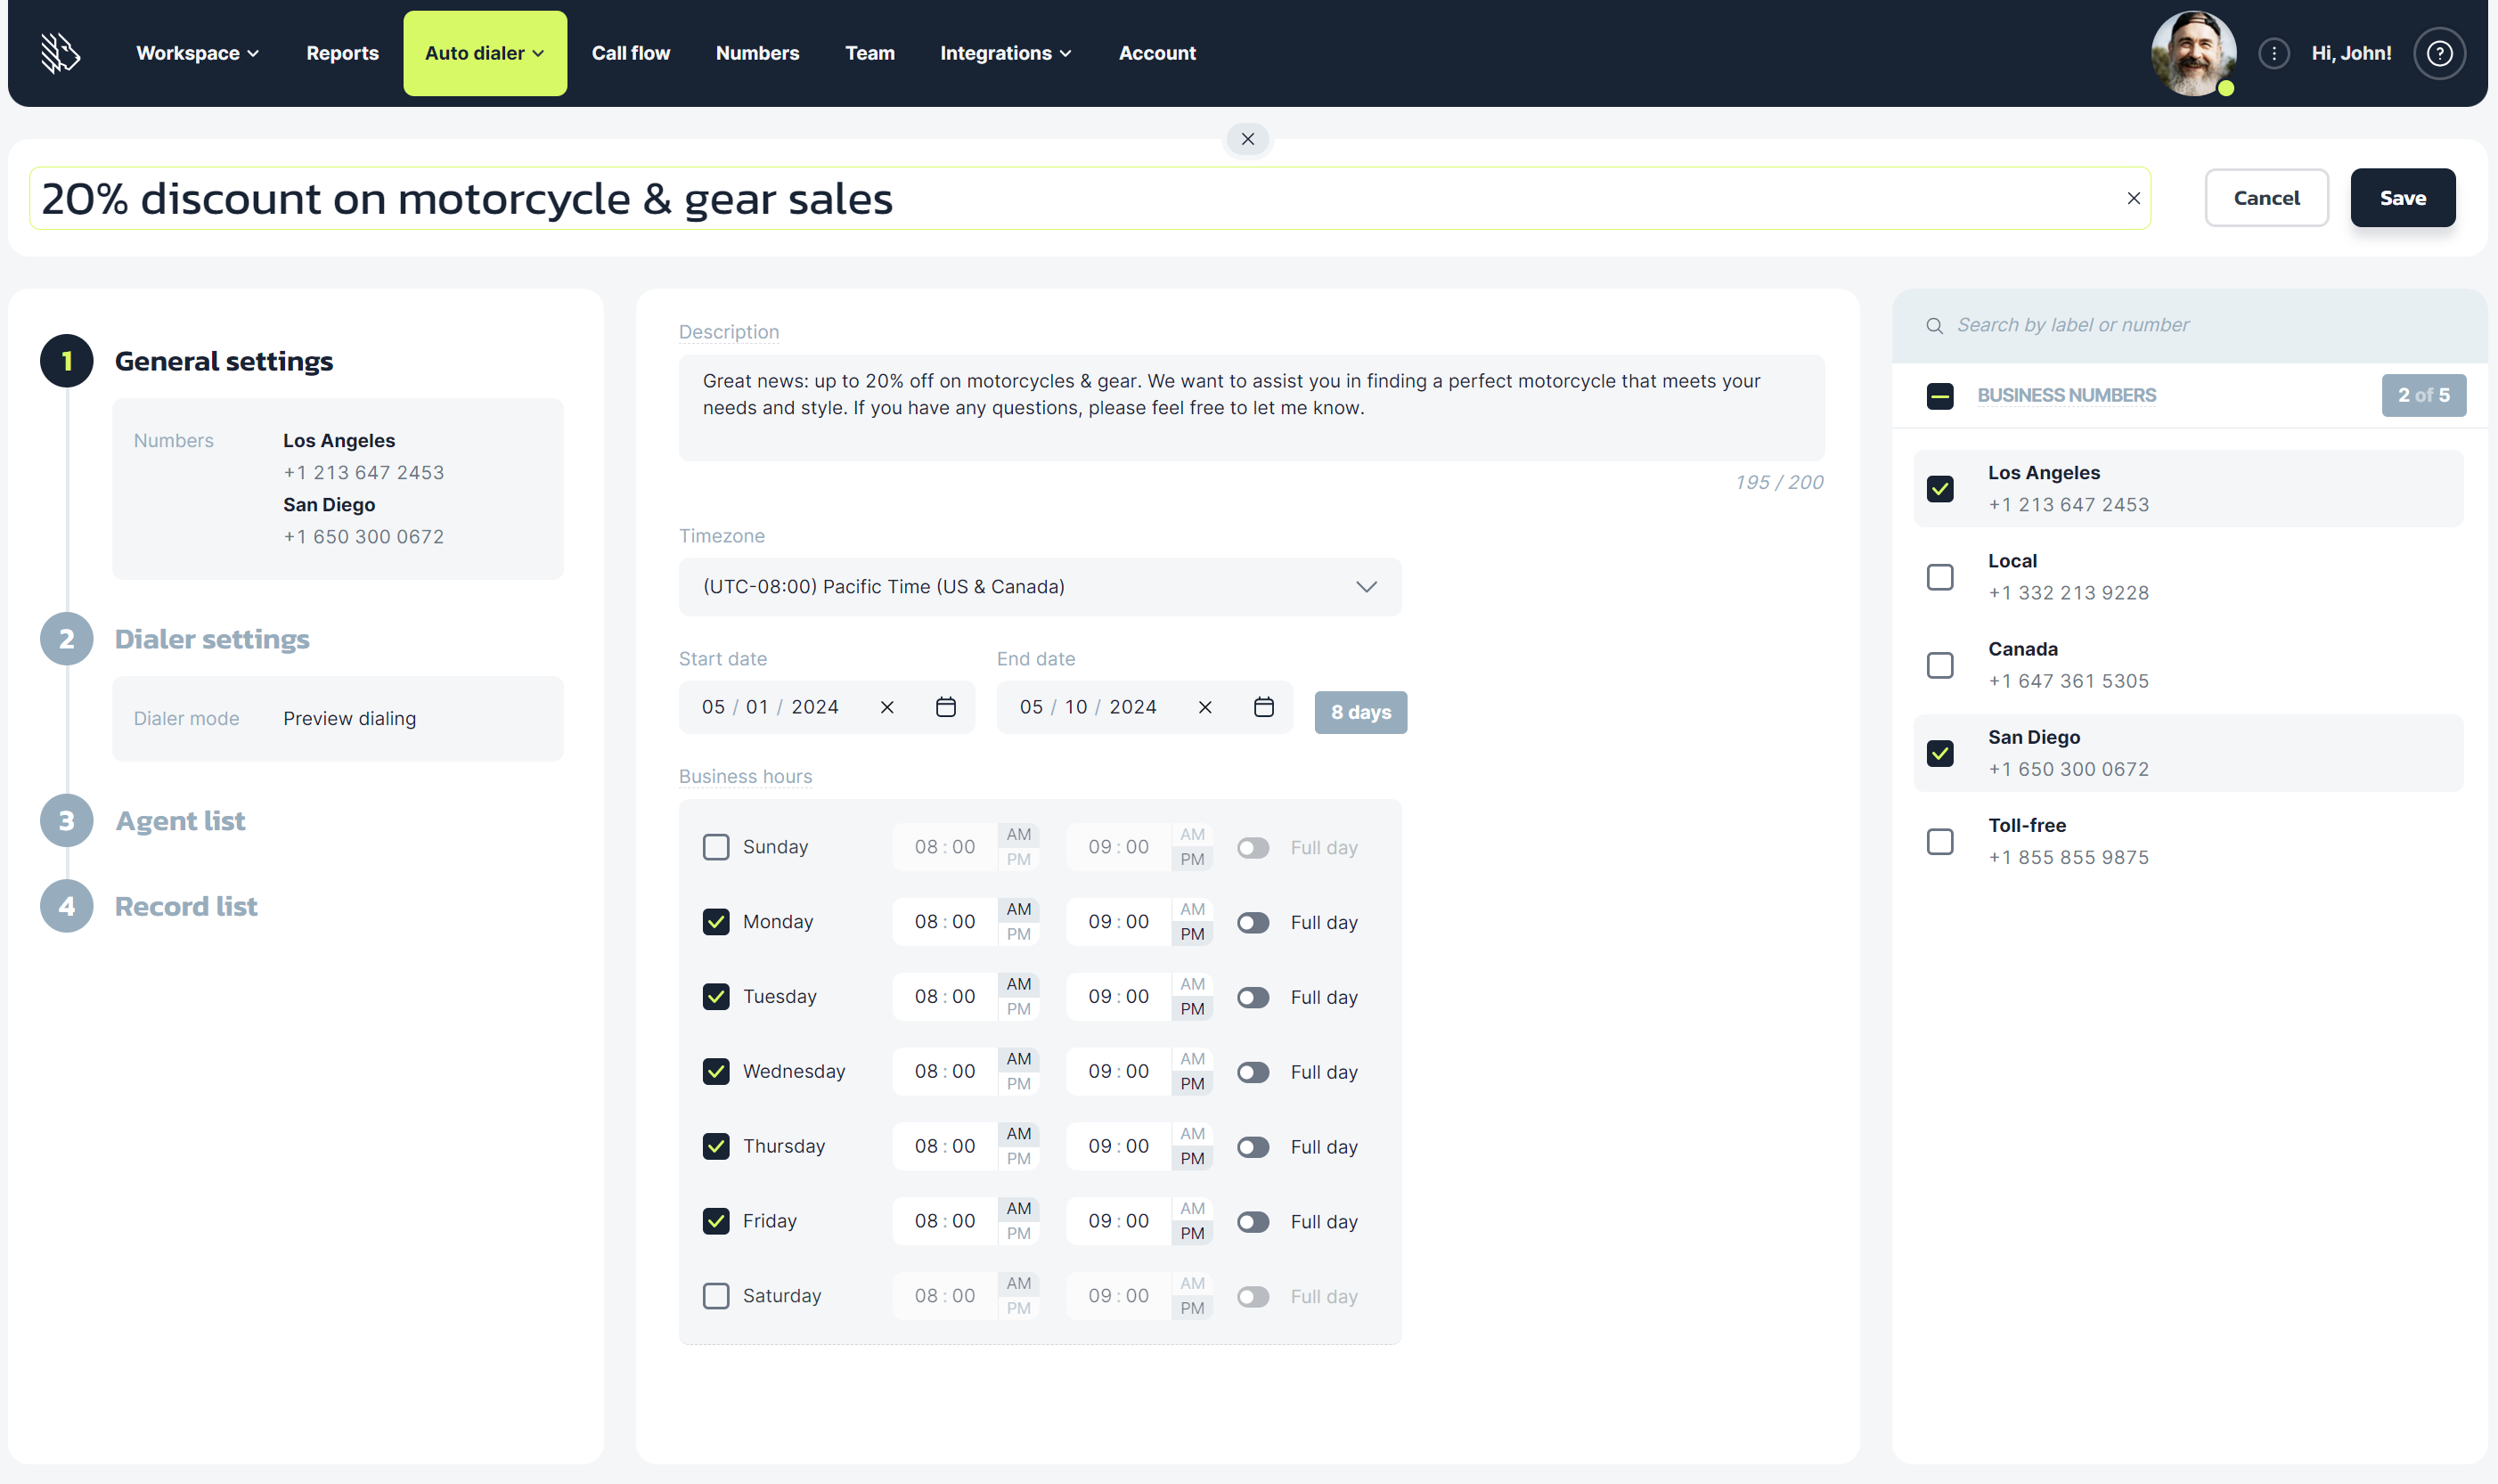
Here you can set up the following:
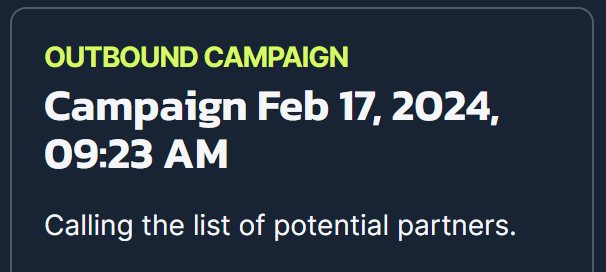
- Campaign name: By default, the name of the created campaign is created in the following format: Campaign + current date + current time. For example, Campaign Jan 10, 2024, 07:33 AM. Once a campaign is created, the campaign name can be modified.
The campaign name is displayed in the Agent's webphone when the next outbound call request is assigned to them.
- Description: This field is optional. Typically, it is used to provide a brief description of the campaign.
The campaign description is also displayed in the Agent's webphone when the next outbound call request is assigned to them.
- Business numbers: The business numbers that are going to be used for making calls within the outbound campaign are displayed here:
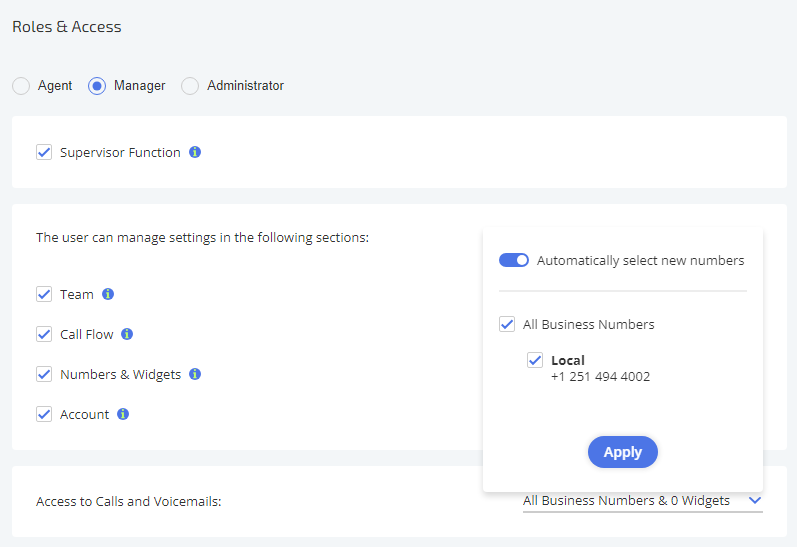
- for Administrators, all business numbers are available;
- for Managers, only the numbers selected in the Access to Calls and Voicemails section in Roles & Access are available:
International numbers are not displayed and cannot be used within outbound campaigns!
- Campaign schedule: you can schedule the start & end date of the campaign as well as the days of the week and the hours, during which your campaign will be running. It's possible to set up the campaign schedule in a specific timezone, too.
Wizard Step 2: Dialer settings
Currently, 2 dialing modes are available: Preview and Progressive.
The difference between Preview & Progressive modes is that in the Progressive mode, the campaign calls will be ringing to agents right away, without an option to accept or decline the campaign call request before the call is initiated, which is available in the Preview mode.
Wizard Step 3: Agent list

Here you can select the Agents who will be participating in the outbound campaign and handling call requests within it. All current users within the account are listed here.
Please note that Agents must have their webphones enabled to receive and make campaign calls.
Wizard Step 4: Record list
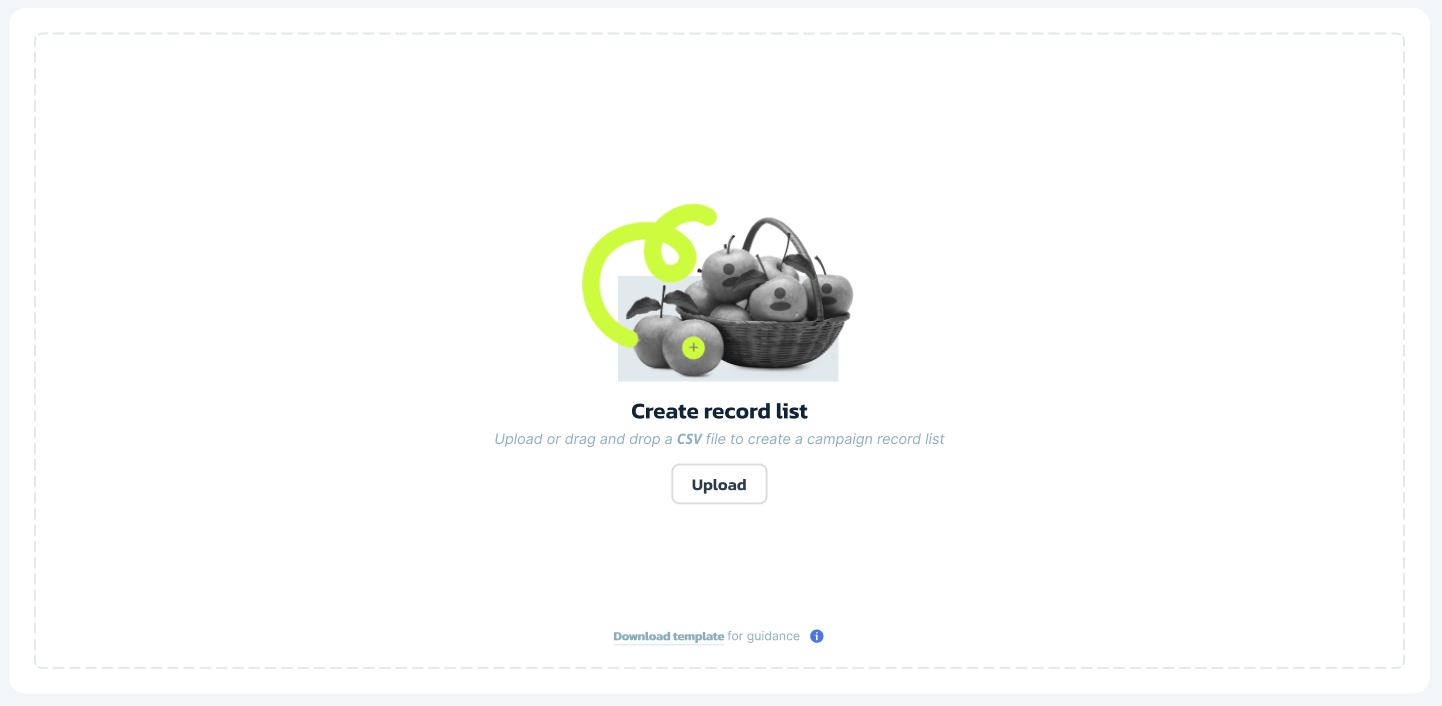
Each created record list is available for use within any outbound campaign.
Requirements for the uploaded file are as follows:
- maximum number of records lists: 30 per account;
- maximum file size: 15MB
- maximum number of records within one file: 50,000
- maximum number of records within one record list: 100,000
- each record in the file must contain at least one phone number
- format: CSV, delimiter: ","
During the file upload, the system is checking it for duplicate records, and whether the phone number format in each record is in the 1XXXXXXXXXX format: for example, 1234567899. If there are any errors in the list, the system will show the following error and a prompt to download the report with the failed entries:

If you have already created at least one record list, the wizard step will look as follows:
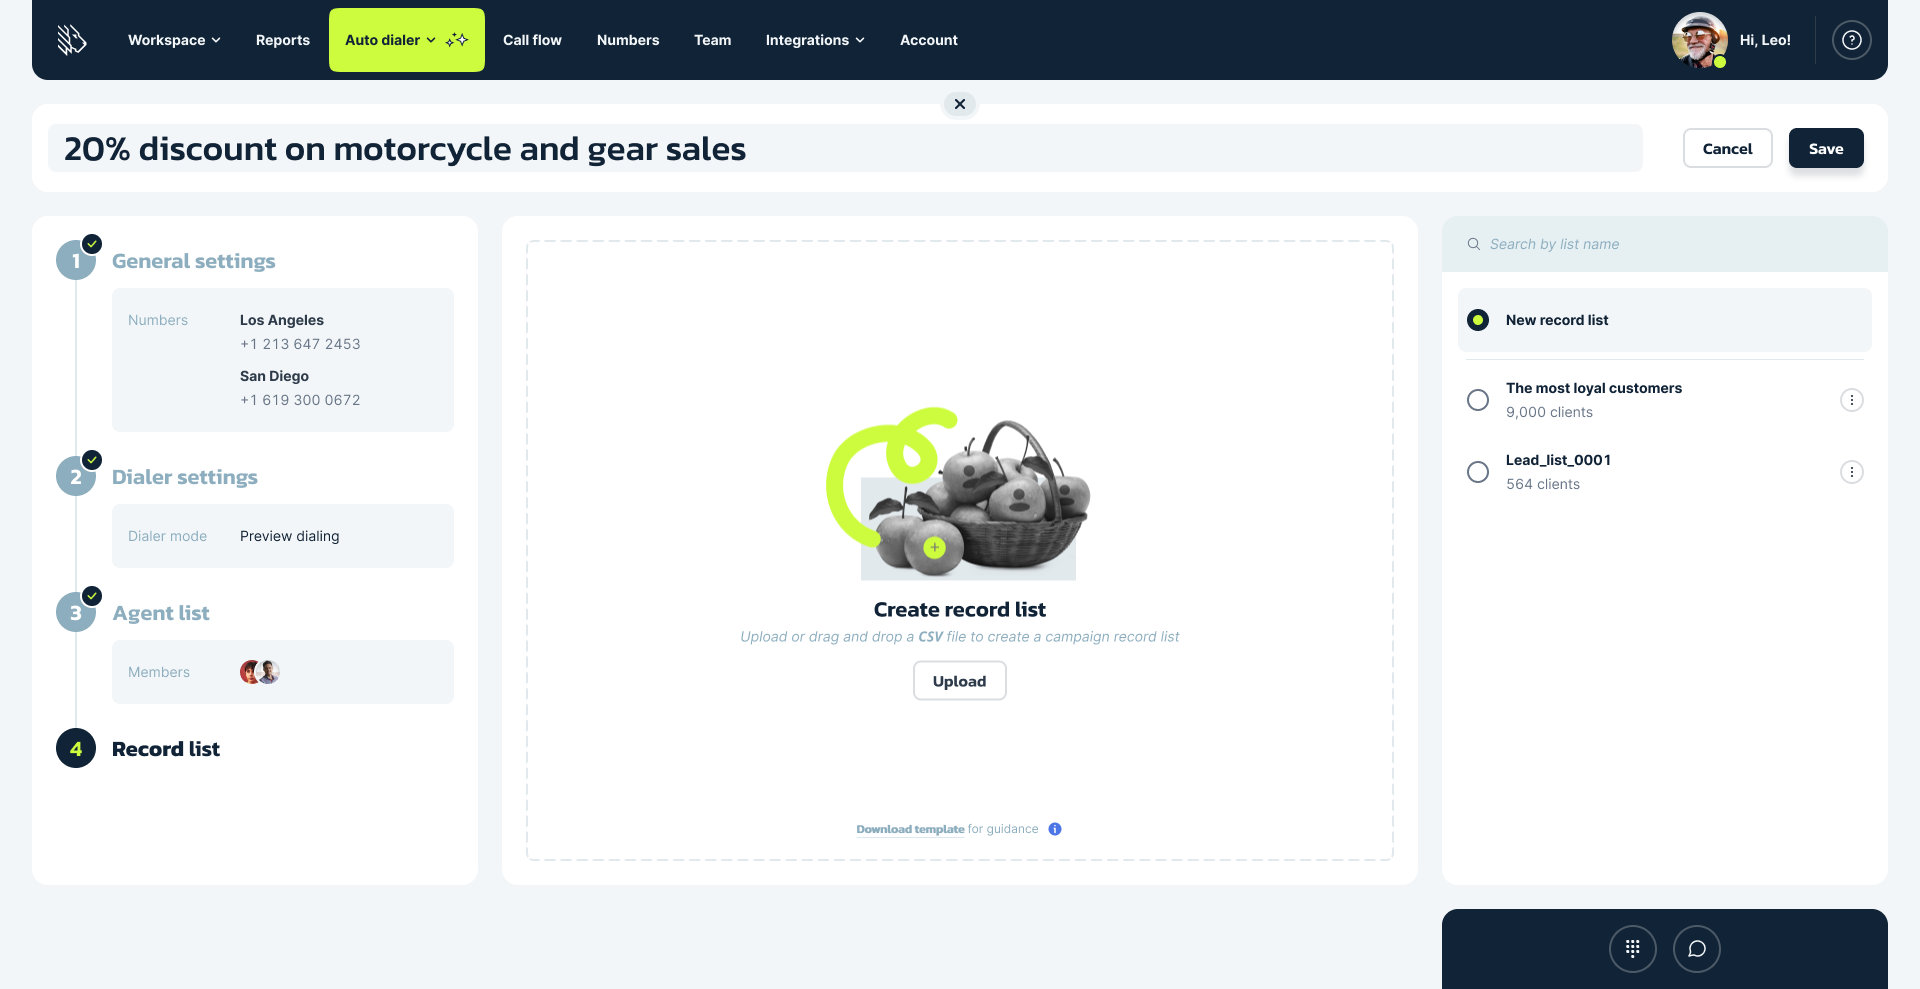
In this case, you can choose whether to create a new list, or use any of the existing ones.

For each existing record list, you can perform the following operations:
- Add more: Adds new records to the existing ones, with checks for duplicates and the phone number format.
- Replace: Completely replaces existing records in the list with the new ones, with checks for duplicates and the phone number format.
- Delete: Deletes the record list.
- Export to CSV: Exports the records to a CSV file.
The actions above don't affect Running or Paused campaigns.